How to Update Audio Driver on Windows 11: A Comprehensive Guide
Introduction
Updating your audio drivers on Windows 11 is essential for maintaining high-quality sound and avoiding technical glitches. Drivers are crucial software components that help your operating system communicate with hardware like sound cards, ensuring that your audio experience is smooth and uninterrupted. This guide offers a step-by-step approach to updating your audio drivers, enhancing system performance, and addressing common sound issues.
Once you understand the significance of keeping your audio drivers current, the next step is to learn about the role of these drivers in your operating system.
Understanding Audio Drivers
What Are Audio Drivers?
Audio drivers are specialized software that allows your computer’s operating system to communicate effectively with the audio hardware. Whether you’re listening to music, watching videos, or participating in video conferences, audio drivers ensure that the sound is processed correctly and efficiently.
The Importance of Keeping Them Updated
Updating your audio drivers is vital for several reasons. First, it ensures compatibility with new software applications and system updates. Additionally, driver updates often include enhancements that can improve sound quality and fix bugs that might cause performance issues. Keeping your drivers up-to-date can help prevent crashes, distortions, and other audio-related problems.
With this understanding in mind, let’s move on to identifying your current audio driver version.
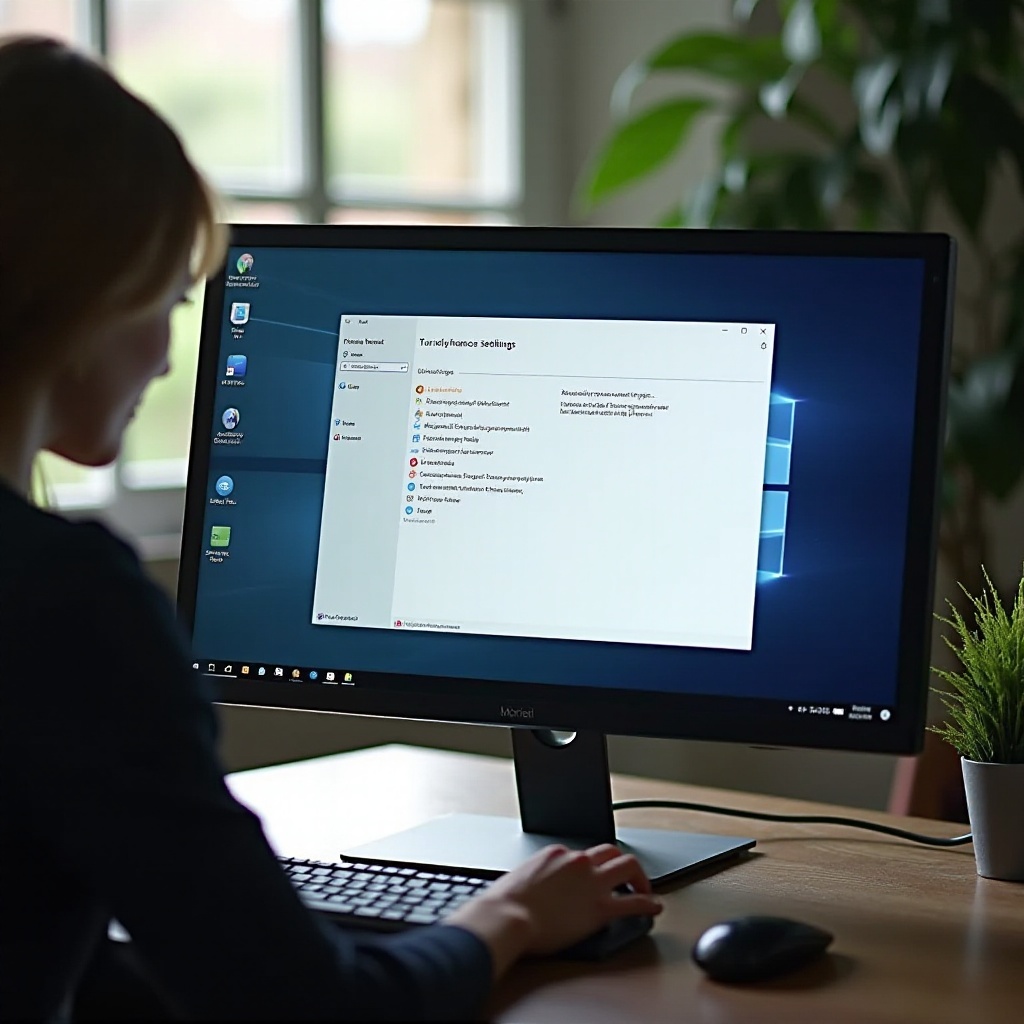
Identifying the Current Audio Driver Version
Using the Device Manager
- Press
Windows + Xand select ‘Device Manager’ from the context menu. - Expand the ‘Sound, video and game controllers’ section.
- Right-click on your audio device and select ‘Properties’.
- Navigate to the ‘Driver’ tab to view the driver details, including version and date.
Checking Through the Sound Settings
- Right-click the sound icon in the taskbar and select ‘Sound settings’.
- Under ‘Advanced sound options’, select your audio device.
- Click ‘Device properties’ to check the driver information.
Armed with the driver’s details, you’re ready to explore manual update methods to keep your system running smoothly.
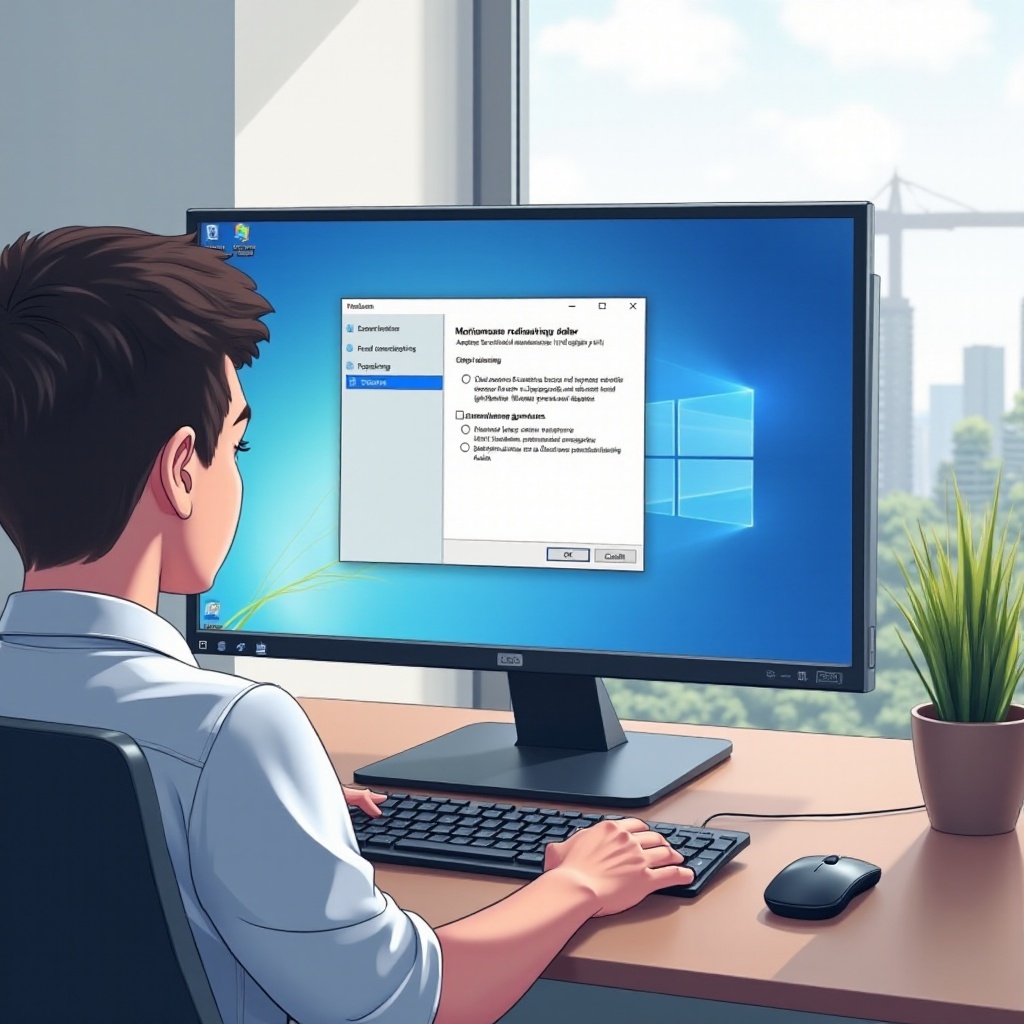
Manual Methods for Updating Audio Drivers
Step-by-Step Guide Using Device Manager
- Open ‘Device Manager’.
- Expand the ‘Sound, video and game controllers’ section.
- Right-click your audio device and choose ‘Update driver’.
- Select ‘Search automatically for updated driver software’ to let Windows find updates.
Downloading Latest Drivers from Manufacturer Websites
- Identify your audio device’s make and model in the Device Manager.
- Visit the manufacturer’s official website.
- Locate the support or downloads section.
- Enter your device’s details and download the latest driver version.
While manual updates provide control, utilizing Windows Update for automatic updates is also effective and user-friendly.
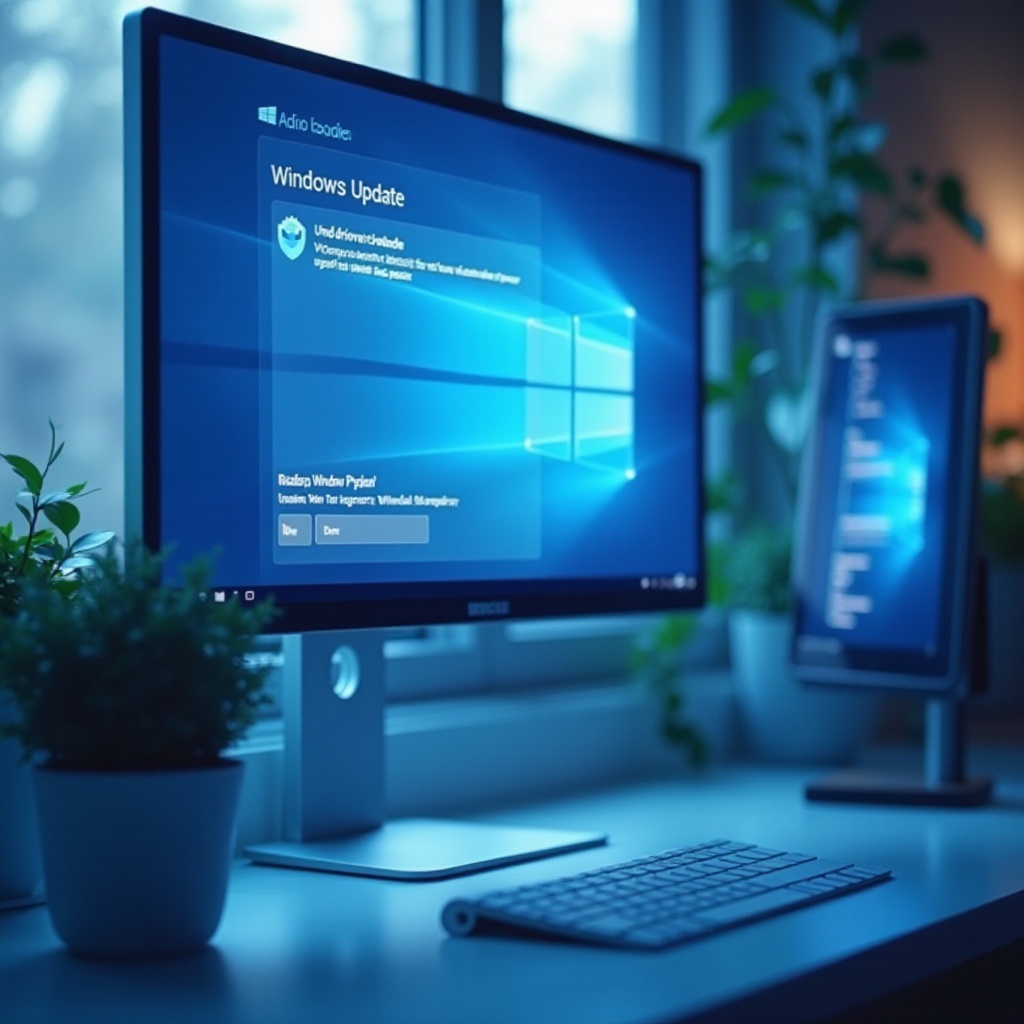
Automatic Updates via Windows Update
Enabling Driver Updates in Windows Update
Windows Update is a convenient and effective method to ensure your drivers remain current.
- Open ‘Settings’ using
Windows + I. - Navigate to ‘Update & Security’ and select ‘Windows Update’.
- Click ‘Check for updates’. If driver updates are available, they will be listed and can be installed easily.
Configuring Update Settings for Audio Drivers
- In the ‘Windows Update’ section, click ‘Advanced options’.
- Enable ‘Receive updates for other Microsoft products when you update Windows’.
- This ensures you receive updates for your audio drivers along with system updates.
When automatic updates aren’t your preference, third-party software solutions offer an alternative approach.
Using Third-Party Software for Driver Updates
Recommended Third-Party Tools
Third-party applications like Driver Booster, DriverPack Solution, and Snappy Driver Installer automate the update process efficiently.
- Download and install one of the recommended tools.
- Run a scan to identify outdated drivers.
- Follow the on-screen instructions to update your audio driver.
Pros and Cons of Automated Software Solutions
Pros:
– Saves time with automatic scans and updates.
– User-friendly interfaces.
– Often includes backup features to restore previous drivers.
Cons:
– Some tools may come with unwanted software.
– Premium versions may be required for full functionality.
Even with these updated methods, issues can occasionally occur. Here’s how to troubleshoot them.
Troubleshooting Common Audio Driver Update Issues
Steps to Take When Updates Fail
- Ensure your internet connection is stable during updates.
- Restart your computer if the sound isn’t working after an update.
- Try reinstalling the driver via Device Manager.
Restoring Previous Driver Versions Safely
- In ‘Device Manager’, right-click your audio device.
- Select ‘Properties’, and go to the ‘Driver’ tab.
- Click ‘Roll Back Driver’ if a previous version solved your issues.
These troubleshooting steps ensure you’re prepared to handle any problems arising during the update process, securing continuous audio performance.
Conclusion
Maintaining up-to-date audio drivers is necessary for an optimal Windows 11 experience. Whether through manual updates, automatic settings, or third-party software, keeping drivers current helps ensure you enjoy uninterrupted, high-quality sound. Regular updates prevent issues and support new functionalities as they are rolled out.
Frequently Asked Questions
How often should I update my audio drivers on Windows 11?
It’s advisable to check for updates periodically, preferably every few months, or whenever you experience audio issues.
Can outdated audio drivers cause sound issues?
Yes, outdated drivers can lead to sound distortions, device malfunctions, or complete loss of audio.
What should I do if my audio doesn’t work after updating drivers?
Try restarting your computer, checking for hardware issues, or rolling back to the previous driver version in Device Manager.