
Astro A50 Headset Not Working? Complete 2024 Troubleshooting Guide
Introduction
The Astro A50 is a favorite wireless gaming headset for many players because it sounds great, feels comfortable, and includes a simple charging base. That makes it especially annoying when your Astro A50 headset is not working right before a ranked match, a stream, or an important call.
You might get no sound at all, or your mic might stop picking up your voice. Sometimes the headset refuses to connect to your PC, Xbox, or PlayStation. In other cases it cuts out, crackles, or disconnects in the middle of a game. Most of these problems come down to a few root causes: power and charging issues, incorrect audio settings, outdated firmware, or wireless interference.
This guide walks you through all the practical fixes in a clear order. You will start with basic power and hardware checks, then move on to sound and mic settings, device detection, firmware updates, resets, and finally wireless stability and long-term care. Work through the sections step by step and test after each major change. In most cases, you will solve your Astro A50 problems long before you reach the end.
To make troubleshooting easier, you should first identify which type of problem you are facing. Then you can focus on the sections that apply most to your situation.
Understand the Most Common Astro A50 Problems
When users search for ‘astro a50 headset not working’, they usually describe the same handful of symptoms. Knowing which one matches your situation helps you choose the right fix and avoid unnecessary changes.
-
No sound from the Astro A50
You hear nothing from games, apps, or system sounds, even though the headset and base appear powered on. Sometimes only one ear works, or you hear only chat audio but no game audio.
-
Mic not working or very low volume
Friends say they cannot hear you, or your voice sounds very quiet or distorted. The microphone might work in one app but not in another, which often points to wrong input or privacy settings.
-
Headset not turning on or not charging
You place the headset on the base, but the battery never seems to charge, or the headset refuses to power on at all. This can come from bad contact with the base, faulty cables, or battery issues.
-
Astro A50 not detected on PC, Xbox, or PlayStation
The device does not appear in Windows sound settings, or your console will not use it for game or chat audio. Often, the base runs in the wrong mode, or USB ports and drivers cause problems.
-
Audio cutting out, lag, or random disconnects
Sound drops for a second, crackles, or the headset disconnects and reconnects during matches. This often links to wireless interference, range limits, or unstable USB power to the base.
Now that you have a clear view of what is going wrong, start with the simple physical checks. Fixing basic power and connection problems first will make the rest of your troubleshooting more effective.
Step 1 – Check Power, Charging, and Basic Hardware
Many ‘astro a50 headset not working’ complaints come from small physical issues. Before you dive into software settings, make sure the headset and base are getting proper power and are connected correctly.
- Confirm the headset is powered on
- Press and hold the power button until the LED lights up.
- If nothing lights up, hold the button a little longer to rule out a short press.
-
Listen for any startup tones that confirm the headset is booting.
-
Verify proper charging and LED indicators
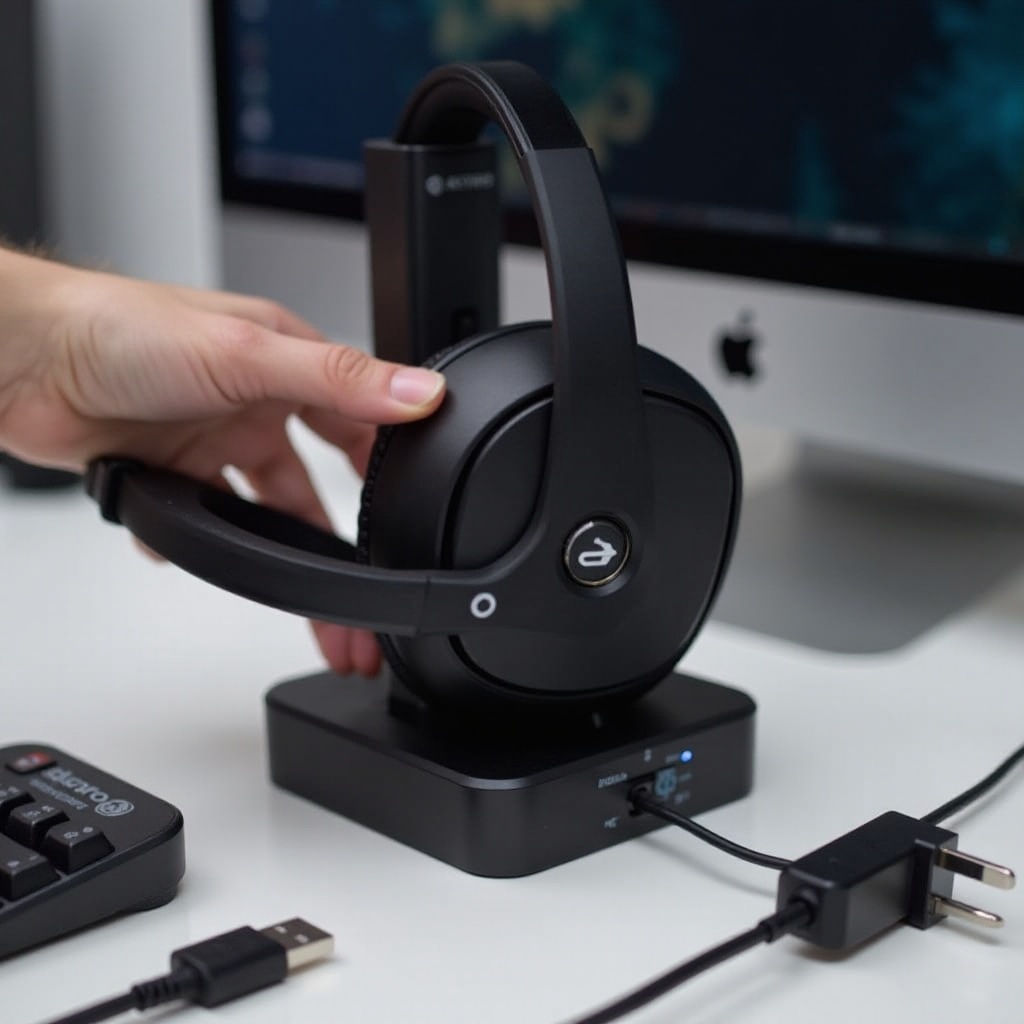
- Place the headset on the base station and look for charging LEDs.
- Check that the charging contacts on both the headset and the base are clean and free of dust or debris.
-
Leave the headset on the base for at least 30 minutes, then try to power it on again.
-
Inspect the base station, cables, and USB ports
- Examine the USB cable for damage, tight bends, or loose connectors.
- Plug the base station directly into a USB port on your PC or console.
-
Try a different USB port if the base does not power on or feels unstable.
-
Make sure the headset is seated correctly on the base
- Place the headset firmly on the base so the metal contacts align.
- Gently move the headset and watch the charging indicator. If the LED flickers when you move it, reseat the headset until the light stays steady.
Once you know the Astro A50 is turning on and charging properly, the next likely problem area is audio output. If you have power but no sound, focus on sound settings on your PC or console.
Step 2 – Fix Astro A50 No Sound Issues (PC, Xbox, PlayStation)
When the Astro A50 powers on but you hear nothing, the cause is usually a wrong audio output device, a mode mismatch, or conflicting audio enhancements. Start with the easiest checks and move to system settings.
- Check headset volume, mute, and game/voice balance
- Turn the volume wheel up to a comfortable level.
- Press the mute button once to make sure the headset is not muted.
-
Adjust the game/voice balance wheel. If it is turned all the way toward voice or toward game, you may think there is no sound on one side.
-
Select the correct output device on Windows
- Right-click the speaker icon in the taskbar and select ‘Sound settings’.
- Under ‘Output’, choose the Astro A50 or any device labeled with ‘Astro’ as the default output.
-
Play a test video or audio file and watch the volume meter. If it moves but you hear nothing, double-check the headset volume again.
-
Configure audio output settings on Xbox Series X|S and Xbox One
- Press the Xbox button and go to Settings > General > Volume & audio output.
- Set ‘Headset audio’ to use the connected Astro device.
-
Check the chat mixer and make sure it does not mute game audio in favor of chat or the other way around.
-
Configure audio output settings on PS5 and PS4
- On PS5, go to Settings > Sound > Audio Output.
- Set ‘Output Device’ to the Astro A50 USB device.
- Under ‘Output to Headphones’, choose ‘All Audio’ so both game and chat go through the headset instead of ‘Chat Audio’ only.
-
On PS4, follow Settings > Devices > Audio Devices and set both input and output to the Astro headset when needed.
-
Turn off conflicting surround sound and audio enhancements
- In Windows, open the Astro device properties from the sound panel and disable any audio enhancements.
- Close or disable other surround sound utilities or software that may hijack the output (for example, extra virtual surround apps).
- Test again with a simple stereo track to confirm basic audio works.
If you now have consistent sound, but people cannot hear you, the next step is to fix microphone issues. If you still get no audio at all, you will address connection and detection problems in later sections.
Step 3 – Fix Astro A50 Mic Not Working
Microphone issues are very common and often come from incorrect input device selection or privacy rules that block access to the mic. The good news is that most of these problems are easy to fix once you know where to look.
- Confirm mic position and mute status on the headset
- Make sure the boom mic is fully lowered; on many Astro models, lifting the mic arm mutes it.
- Press the mute button on the headset and watch for the mute indicator to go off.
-
Speak into the mic and see if any input level indicator moves on your PC or console.
-
Set the Astro A50 as default input device on Windows
- Right-click the speaker icon and open ‘Sound settings’.
- Under ‘Input’, select the Astro A50 microphone as the default device.
-
Click ‘Device properties’ and increase the input level if it is set too low.
-
Adjust in-game and chat app mic settings (Discord, Xbox Party, PS Party)
- In Discord, open Settings > Voice & Video and choose the Astro A50 as the input device.
- Disable auto-detect for input sensitivity and set a manual level so your voice triggers consistently.
- On Xbox, open your party options and confirm that you are not muted and that the headset is selected for chat.
-
On PlayStation, open Settings > Sound > Microphone, select the Astro device, and run the built-in mic test to hear your own voice.
-
Check privacy and communication settings on PC, Xbox, and PS5
- On Windows, go to Settings > Privacy & security > Microphone and allow apps to access the microphone.
- Make sure your game or chat app appears in the list and has permission.
-
On consoles, review parental and communication settings to make sure voice chat is allowed on your account.
-
Test the mic with built-in system tools
- On Windows, use the ‘Test your microphone’ option in sound settings and talk into the mic.
- On PS5 or Xbox, use the console mic test or join a test party to hear your voice.
- If your mic works in system tests but fails in a specific game or app, adjust that app’s audio settings rather than your system settings.
If your mic still does not work at all after these steps, the headset may not be connecting properly to the PC or console. The next section focuses on detection and connection problems.
Step 4 – Fix Astro A50 Not Detected or Not Connecting
When a system does not detect the Astro A50, it cannot send sound to it or receive mic input from it. These issues often come from the wrong base station mode, driver problems, or power management settings.
- Ensure the base station is in the correct mode (PC / Xbox / PS)
- Locate the mode switch or button on the base station.
- Set the base to PC mode when using a computer, and to the correct console mode when using Xbox or PlayStation.
-
After changing modes, power cycle the headset and base to refresh the connection.
-
Re-sync the headset and base station
- Place the headset on the base and watch the LED indicators until they show a stable connection.
- If pairing fails, press and hold the sync buttons on both the headset and the base (refer to your specific model) until the LEDs start blinking, then wait for them to stabilize.
-
Lift the headset off the base and check if it remains connected.
-
Fix device recognition issues on Windows
- Open Device Manager and expand ‘Sound, video and game controllers’ and ‘Audio inputs and outputs’.
- Look for any Astro device entries. If one is disabled, right-click and enable it.
-
If you see a warning icon, right-click the device, choose ‘Uninstall device’, then unplug and reconnect the base station so Windows reinstalls the driver.
-
Resolve console detection issues on Xbox and PlayStation
- Unplug the USB cable from the console, wait 10 to 15 seconds, then plug it back in.
- Restart the console and open audio settings to confirm the Astro A50 shows as a headset or USB device.
-
If the console still does not see it, try a different USB port and confirm the base is in the correct mode.
-
Disable USB power saving and sleep features that cut power
- On Windows, open Power Options and disable ‘USB selective suspend’ in advanced settings.
- In Device Manager, under ‘Universal Serial Bus controllers’, open the properties of each USB root hub and uncheck ‘Allow the computer to turn off this device to save power’.
- On consoles, review rest mode or standby settings and disable any option that cuts power to USB ports if you rely on them to keep the base active or charging.
If your PC or console now detects the Astro A50 but you still experience unstable behavior, outdated firmware or corrupted profiles might be responsible. Updating the headset and base firmware is the next logical step.
Step 5 – Update Astro A50 Firmware and Software
Firmware updates can fix compatibility problems, random disconnects, and bugs that cause the Astro A50 headset not working correctly with new system updates. Keeping the firmware current is one of the best ways to maintain a stable setup.
- Install and use Astro Command Center on PC or Mac
- Download Astro Command Center from the official Astro website.
- Install the software on your PC or Mac, then connect the base station in PC mode via USB.
-
Launch the Command Center and wait for it to detect your Astro A50 headset and base.
-
Update firmware for both the headset and base station
- If the software shows available firmware updates, follow the prompts to start the update process.
- Keep the headset on the base station and do not disconnect any cables until the update finishes.
-
Wait for the software to display a completion message before closing it.
-
Reset audio profiles and EQ after updating
- In Astro Command Center, reset your profiles or load default EQ presets.
- Save the updated profiles to the headset.
- Test the headset in a game and in a voice chat to see if the update and reset resolved your issues.
If you still face major issues after a fresh firmware update, a reset can clear persistent glitches by putting the headset back to a clean state. This is more drastic but effective when everything else fails.
Step 6 – Reset Your Astro A50 (Soft Reset & Factory Reset)
Resets help solve stubborn problems that survive firmware updates and basic setting changes. Always start with a soft reset before considering a full factory reset, since a factory reset removes your custom profiles and settings.
- When to use a soft reset for minor glitches
- Use a soft reset if your Astro A50 freezes, does not respond to button presses, or behaves strangely after a crash.
- The exact button combination can vary by model, so check the official Astro documentation for your version.
-
After performing the soft reset, power the headset back on and test audio and mic functions.
-
How to perform a factory reset as a last resort
- Only factory reset if every previous step failed and the headset still refuses to work correctly across different devices.
- Follow the instructions in Astro Command Center or on the Astro support site to restore the headset to factory settings.
-
Understand that this step clears saved EQ presets and profile configurations.
-
Re-pair and reconfigure the headset after a reset
- After the reset, re-pair the headset with the base station according to your model instructions.
- Go back into your PC or console sound settings and set the Astro A50 as the default input and output again.
- Test with a simple game, audio file, and chat session to confirm that core functions are working.
If your Astro A50 works after a reset but audio still cuts out or feels delayed, the problem may not be inside the headset at all. Wireless interference, placement, and power stability can cause ongoing performance issues.
Step 7 – Fix Audio Cutting Out, Lag, and Disconnects
When your Astro A50 headset is not working reliably, and you face random cut-outs or lag, you are most likely dealing with wireless or power stability issues. These can be subtle, but small changes to your setup often improve performance dramatically.
- Reduce wireless interference around your setup
- Keep the base station away from Wi-Fi routers, cordless phones, and dense clusters of Bluetooth devices.
- Do not stack the base directly on top of your console, PC, or other large electronics that generate interference.
-
If possible, change the Wi-Fi channel on your router to reduce congestion in the 2.4 GHz band.
-
Optimize base station placement and range
- Place the base station where it has a clear line of sight to your seating position.
- Avoid putting thick walls, metal shelves, or large objects between you and the base.
-
Test the headset at a closer distance. If cut-outs disappear when you are closer, range or obstacles are likely to blame.
-
Avoid unstable USB hubs and low-power ports
- Plug the base directly into a rear USB port on your PC or into a main port on your console.
- If you must use a hub, choose a powered USB hub with its own power supply.
-
An unstable or low-power USB port can cause the base to momentarily lose power, which feels like a disconnect or audio drop.
-
Identify whether the problem is environment or hardware
- Test the Astro A50 on a different PC or console, ideally in a different room or location.
- If the headset works perfectly in the new environment, the original room or setup is causing the interference.
- If the same cut-outs and lag appear everywhere, you may be dealing with a hardware fault and should contact Astro or Logitech support.
Once your headset runs smoothly, you can prevent many future problems by caring for the battery, protecting the hardware, and keeping software up to date.
Prevent Future Astro A50 Headset Issues
You can avoid many future ‘astro a50 headset not working’ moments with a few simple habits. Good charging practices, careful handling, and regular updates all help your Astro A50 stay reliable.
- Best practices for charging and battery health
- Try not to let the battery run completely flat every time you play.
- Place the headset on the base when you are done gaming so it stays charged.
-
Use the original USB cable and a stable power source for charging whenever possible.
-
Safe storage and handling to avoid physical damage
- Store the headset on the base or a dedicated stand instead of leaving it on the floor or a crowded desk.
- Avoid twisting the headband or bending the mic arm roughly.
-
Keep the charging contacts clean and protect the ports from dust and liquids.
-
Keep firmware, software, and console/PC updates current
- Check Astro Command Center from time to time for new firmware releases.
- After major Xbox, PlayStation, or Windows updates, test your headset to make sure everything still works.
- Updating both the headset firmware and system software reduces the risk of sudden compatibility issues that make the Astro A50 headset stop working.
By following these care tips, you reduce the chance of sudden failures and help your Astro A50 deliver consistent performance session after session.
Conclusion
When your Astro A50 headset is not working, the problem can feel complicated, but most issues trace back to a handful of causes: power, incorrect audio settings, outdated firmware, poor connections, or wireless interference. By working through this guide in order, you start with simple physical checks, then move on to sound and mic settings, device detection, firmware updates, resets, and wireless stability.
In many cases, one of these steps restores your audio and mic without the need for a repair. If your Astro A50 still fails across multiple systems after you follow all these instructions, you may have a hardware fault. At that point, contact Astro or Logitech support with details of the problems and the steps you have already tried. With a clear record of your troubleshooting, getting a repair or replacement becomes faster and easier.
Frequently Asked Questions
Why is my Astro A50 headset not working even after updating firmware?
Firmware updates fix many bugs, but they do not solve every issue. After you update, check your PC or console sound settings again, because updates can change the default input and output devices. Make sure the Astro A50 is selected for both sound and mic, then run a soft reset and re-pair the headset with the base. If the headset still fails on multiple devices after these steps, the problem may be hardware-related rather than a software bug.
How do I know if my Astro A50 has a hardware fault and needs repair?
You likely have a hardware fault if the headset will not power on even after charging, if there are no LEDs or tones at all, or if the mic and speakers never work despite correct settings on several devices. Another sign is random behavior from the base station LEDs that does not match normal patterns. Test the headset on a different PC or console. If the same problems appear everywhere, contact Astro or Logitech support with your serial number and proof of purchase to ask about repair or replacement options.
Can I use my Astro A50 on multiple devices without constant issues?
Yes, you can use the Astro A50 on several devices, but you must switch modes and audio settings correctly each time. Set the base station to PC mode on a computer and to the correct console mode on Xbox or PlayStation. After switching, open the new device’s sound settings, choose the Astro A50 for both input and output, and adjust chat and game balance. If you follow this routine and keep firmware up to date, you should be able to move between devices with minimal problems.