
JLab Left Earbud Not Working? Complete Troubleshooting Guide
Introduction
A silent left earbud can ruin music, calls, and workouts in seconds. Many JLab users report the same issue: the right earbud connects and plays perfectly, while the left side will not turn on, charge, or produce sound. The frustration grows when simple reconnect attempts do not help and it is not clear whether the problem is the earbuds or the device.
This guide walks you step by step through every common cause of a JLab left earbud not working. You will learn how to test your phone or laptop, adjust audio settings, reset and re-sync the earbuds, fix charging and sound issues, and spot signs of physical damage. Each section builds on the last so you move logically from easy checks to more advanced solutions.
By the end, you will know whether your left JLab earbud can be fixed at home or if it is time to reach out to JLab support or consider a replacement. Start with the first checks before jumping into resets or assuming the worst.
Step 1 – Confirm It’s Not Your Device or App
Before you assume the earbuds are broken, confirm that your phone, tablet, computer, or app is not causing the problem. A few quick tests can save you from needless resets or replacements.
Begin by testing your JLab earbuds with a second device:
- Disconnect or turn off Bluetooth on your current device.
- Grab a different device, such as another phone, tablet, or laptop.
- Put your JLab earbuds into pairing mode.
- Connect them to the new device and play a song, podcast, or video.
- Listen carefully to check whether the left earbud plays sound.
If the left earbud works on the second device, your original device may be the real source of the issue.
Next, check audio balance and mono audio settings. Many operating systems include accessibility options that can shift audio to one side or force mono output.
- On iOS:
- Open Settings > Accessibility > Audio/Visual.
- Make sure Mono Audio is off.
-
Set the Balance slider to the center between L and R.
-
On Android (names can vary):
- Open Settings > Accessibility > Hearing or Sound.
- Turn Mono Audio off.
-
Check any Left/Right balance slider and keep it centered.
-
On Windows:
- Right-click the speaker icon and open Sound settings or Volume Mixer.
-
Ensure left and right channels show similar levels.
-
On macOS:
- Go to System Settings > Sound.
- Check the Balance slider and keep it centered.
Then, rule out app-specific problems. Sometimes only one app acts up, while everything else works fine.
- Try at least two or three different apps, such as a music app, a video app, and a call app.
- Play both streaming content and downloaded files.
- If only one app has the problem, update or reinstall that app.
Once you have confirmed that your device and apps are not the cause, it makes sense to focus on the earbuds themselves. The next step covers the simplest fixes you should try first.
Step 2 – Quick Fixes for a Silent Left JLab Earbud
After ruling out device and app settings, the next move is to try basic fixes on the earbuds. These actions are low risk, take only a few minutes, and often bring the left earbud back to life.
Start by making sure both earbuds are powered on. Many JLab models support independent use of each earbud, so the left one may simply be off.
- Take both earbuds out of the charging case.
- Check the LED on the left earbud. If there is no light or sound, press and hold the touch panel or physical button for several seconds to turn it on.
- Wait for a pairing or power-on tone if your model uses one.
Next, remove and re-insert the left earbud to ensure a proper fit. A poor seal can make the earbud sound extremely quiet, which can feel like it is not working at all.
- Take the left earbud out of your ear.
- Wipe it gently with a dry, lint-free cloth.
- Re-seat the earbud in your ear, then twist slightly until it feels snug and secure.
- Compare volume and clarity between left and right.
If you still hear nothing from the left side, forget and re-pair your JLab earbuds via Bluetooth. Pairing glitches often affect only one earbud.
- On your device, open Bluetooth settings.
- Locate your JLab earbuds in the paired devices list.
- Tap the info icon and select ‘Forget This Device’ or ‘Remove.
- Place both earbuds back into the case and close the lid for at least 10 seconds.
- Remove them from the case and wait for them to enter pairing mode.
- Reconnect them as a new device and test sound.
If these quick fixes still do not revive the left earbud, the problem may be that the earbuds have lost sync with each other, not just with your device. That is where re-syncing comes in.
Step 3 – Re-Syncing JLab Earbuds When Only One Side Plays
Many JLab true wireless earbuds use a ‘master’ and ‘secondary’ system. In most models the right earbud acts as the master and connects to your device, while the left earbud syncs to the right one. When the left earbud stops working, it often means this internal connection broke.
Understanding this pairing relationship explains why only one side plays even though both appear connected. The goal now is to reset the internal pairing between the two earbuds.
A generic factory reset works across many JLab models:
- Place both earbuds in the charging case and close the lid for at least 10 seconds.
- Remove both earbuds from the case.
- On each earbud, press and hold the touch sensor or button until the LED flashes in a reset pattern (often around 8–10 seconds, but timing may vary by model).
- Release the buttons and wait while the earbuds attempt to pair with each other.
- When the LEDs show a stable pairing pattern, open Bluetooth settings on your device.
- Pair the earbuds again and test sound from both sides.
After the reset, confirm both earbuds are truly connected:
- Check the Bluetooth connection name; some devices show ‘stereo’ or similar indicators.
- Play a track and cup each ear in turn to verify audio from both earbuds.
- Move a few steps away from the device to see if the connection stays stable without one side dropping.
If the generic reset does not solve the issue, a model-specific reset often works better. The next section covers typical sequences for popular JLab lines.
Step 4 – Model-Specific Reset Tips for Popular JLab Earbuds
Different JLab families, such as GO Air, JBuds Air, and Epic Air, use slightly different reset steps. Following the exact sequence for your model increases the chance of restoring a silent left earbud.
For GO Air and GO Air POP series:
- Remove both earbuds from the case.
- On one earbud, tap the touch sensor quickly four times (check your user guide if the tap count differs).
- Wait for the LED to flash, indicating it reset.
- Repeat the same sequence on the other earbud.
- Place both earbuds back into the case and close the lid for a few seconds.
- Remove them again; they should pair with each other, then enter pairing mode with your device.
- Reconnect in Bluetooth settings and test audio.
For JBuds Air and JBuds Air ANC models:
- Delete or ‘forget’ the earbuds from your device’s Bluetooth menu.
- Put both earbuds into the charging case and ensure they are seated and charging.
- On one earbud, tap the touch sensor or button seven times or follow the reset taps described in the manual.
- Wait for the LED to show a reset flash, then repeat on the other earbud.
- Leave them in the case for a few seconds, then remove both at the same time.
- Allow them to sync to each other, then reconnect through Bluetooth on your device.
For Epic Air and Epic Air Sport lines:
- Turn off Bluetooth on your phone or computer to avoid interference.
- Remove both earbuds from the case.
- Press and hold the touch sensors on both earbuds at the same time for around 8–10 seconds until the LEDs flash.
- Place the earbuds back into the case and close the lid.
- Wait a few seconds, then remove them again.
- They should pair to each other first, then become visible for pairing in your device’s Bluetooth list.
- Turn Bluetooth back on and connect.
If a model-specific reset still leaves the left earbud silent, the issue may not be pairing-related. Power and charging problems are the next likely causes, so it is time to inspect the case and contacts.
Step 5 – Fixing Left Earbud Charging Issues
A JLab left earbud not working often comes down to one simple problem: the left bud is not charging. If it never receives power, it will not turn on, sync, or play any sound.
Start by checking the charging case battery and LED indicators:
- Plug the case into a reliable power source using the supplied cable or built-in connector.
- Let it charge until the case LEDs show a healthy or full battery level.
- Open the case and place both earbuds inside, making sure each sits flush.
- Watch the left earbud and confirm that its LED lights briefly to show it is charging.
If the case has enough power but the left earbud does not show any charging light, the charging contacts may be dirty.
Clean the charging contacts on both the earbud and the case:
- Turn off the earbuds if possible.
- Use a dry, soft brush or a clean, dry cotton swab to gently wipe the metal contacts on the bottom of the left earbud.
- Clean the matching metal pins or plates inside the left slot of the case.
- Avoid using water, alcohol, or cleaning sprays, which can seep into openings and damage internal components.
Once the contacts are clean, ensure the left earbud sits correctly in the case:
- Place the left earbud in its slot and let the magnets pull it into place.
- Gently press down to check that it is fully seated.
- Confirm that the earbud LED turns on briefly or shows a charging pattern.
- Close the lid and leave it to charge for at least 30 to 60 minutes.
After a full charge, remove the earbuds and test the left side again. If the right earbud charges reliably but the left earbud never shows signs of charging, the problem might be inside the earbud or in the left side of the case. Before assuming permanent damage, however, it is worth checking for sound quality issues that can make the left side seem dead.
Step 6 – When the Left Earbud Has Low, Muffled, or Distorted Sound
Not every ‘dead’ left earbud has a power or pairing issue. Sometimes the left earbud plays so quietly or so muffled that it feels useless. This still qualifies as a JLab left earbud not working, and the cause is often simple physical blockage.
Start by cleaning the ear tip and mesh to remove earwax and debris:
- Gently pull off the silicone or foam ear tip from the left earbud.
- Use a dry, soft brush or a clean, dry cloth to clear visible buildup from the sound nozzle and mesh.
- Avoid sharp tools, pins, or anything that could puncture the mesh or damage the driver.
- If the ear tip is washable, clean it with mild soap and water, let it dry fully, and reattach it.
Next, test different ear tips for a better seal. A poor seal can make bass vanish and overall volume feel much lower on one side.
- Try the medium tips first, then swap to smaller or larger sizes as needed.
- Insert the earbud and twist gently until it feels snug and stable.
- Compare the sound from the left earbud to the right earbud as you switch tips.
Then, adjust EQ modes and check volume levels. Many JLab earbuds include built-in EQ profiles like Signature, Balanced, and Bass Boost.
- Use your model’s control scheme (commonly a triple tap on an earbud) to cycle through EQ modes.
- Pause and test the same section of a track on each mode to see whether clarity or volume improves.
- Make sure you do not simply crank the volume to dangerous levels to compensate for a blocked or damaged driver.
If the left earbud still sounds distorted, crackly, or far quieter than the right side even at moderate volume and with a clean mesh and proper tips, the issue may be deeper. At this point, advanced troubleshooting helps you separate software conflicts from real hardware failure.
Step 7 – Advanced Troubleshooting for Persistent Left Earbud Problems
When you have tried basic resets, cleaning, and re-pairing without success, a few advanced checks can clarify whether the issue is still software-related or truly hardware-based.
If your JLab model supports it, update firmware through the official JLab app.
- Install the JLab companion app on your phone or tablet if your earbuds are compatible.
- Connect your earbuds inside the app.
- Check for any available firmware updates.
- Follow the instructions to complete the update.
- Restart the earbuds and test the left side after the update finishes.
Next, clear Bluetooth cache or reset network settings on your device. Corrupted Bluetooth data can cause strange behavior that looks like a hardware failure.
- On Android:
- Open Settings > Apps (or Application Manager).
- Tap the menu to show system apps and find Bluetooth.
- Tap Storage and clear cache (and, if needed, clear data).
-
Restart your phone and re-pair the earbuds.
-
On iOS:
- Go to Settings > General > Transfer or Reset iPhone.
- Tap Reset > Reset Network Settings.
- After the reboot, reconnect Bluetooth devices.
Then, test the earbuds on another operating system to confirm consistent behavior.
- If you usually use an iPhone, try pairing the earbuds with a Windows laptop or Android phone.
- If you normally use an Android phone, test with a Mac or iPad.
If the left earbud fails the same way on multiple devices and platforms, you can safely suspect a hardware issue in the earbud or the case. At this point, contacting JLab support is usually the most practical next step.
Step 8 – When It’s a Hardware Issue and You Need Support
If you have followed all the earlier steps and the left earbud still does not turn on, charge, or play sound, the underlying problem is likely hardware-related. Internal damage, a faulty battery, or a blown driver are all possible causes.
Look for signs of internal damage or a blown driver:
- The left earbud produces crackling or distorted audio even at low volume.
- The earbud shows no LEDs or sound at all, even after long charging sessions.
- The earbuds have been dropped hard, stepped on, or exposed to water beyond their rated resistance.
If you suspect hardware failure, prepare information for JLab support. Good documentation can speed up the process.
- Note your JLab model name and where you bought it.
- Find your purchase date or proof of purchase, such as a receipt or order email.
- Take clear photos of the earbuds and the charging case from several angles.
- Record a short video that shows the issue, such as the left earbud failing to light up or produce sound.
- Write down all troubleshooting steps you have already tried.
Then, review JLab’s warranty, replacement, and upgrade options in 2024.
- Visit JLab’s official website and navigate to the support or warranty section.
- Check the warranty period and conditions for your specific model in your region.
- Submit a support request with your photos, video, and purchase proof.
- Follow any instructions from JLab about returning the product or receiving a replacement.
If your earbuds are out of warranty or not eligible for replacement, compare the cost of repair or a new pair. JLab often offers reasonably priced new models, and sometimes upgrading makes more sense than paying for a repair on older earbuds.
Even if you end up with a replacement, it is worth adopting better habits to reduce the chance of another one-sided failure. The next section focuses on prevention.
Step 9 – Tips to Prevent Future ‘One Earbud Not Working’ Issues
After you get both earbuds working again, you will want to avoid repeating the same problem. Good care habits can extend the life of your JLab earbuds and keep both sides working reliably.
Build simple daily cleaning and safe storage routines:
- Wipe the earbuds with a dry, soft cloth after workouts or long listening sessions.
- Clean ear tips and the mesh area regularly to prevent earwax buildup.
- Always store the earbuds in their charging case when not in use instead of tossing them in pockets or bags.
Use smart charging practices to protect the batteries in both the earbuds and the case:
- Try not to let the case and earbuds fully discharge for long periods.
- Use quality chargers and avoid extremely cheap, unregulated power adapters.
- Do not leave the case plugged in for days on end without a break.
Avoid drops, moisture, and extreme temperatures that can stress one earbud more than the other:
- Keep the earbuds away from saunas, hot dashboards, or freezing outdoor conditions.
- Remember that water-resistant does not mean waterproof; avoid submerging the earbuds.
- Consider using a protective outer case if you carry the charging case in a bag with keys or other hard items.
By following these simple habits, you reduce wear on the left earbud, protect the charging contacts and battery, and greatly lower the chances of another ‘JLab left earbud not working’ situation. Consistent care pays off in better sound and longer life for your earbuds.
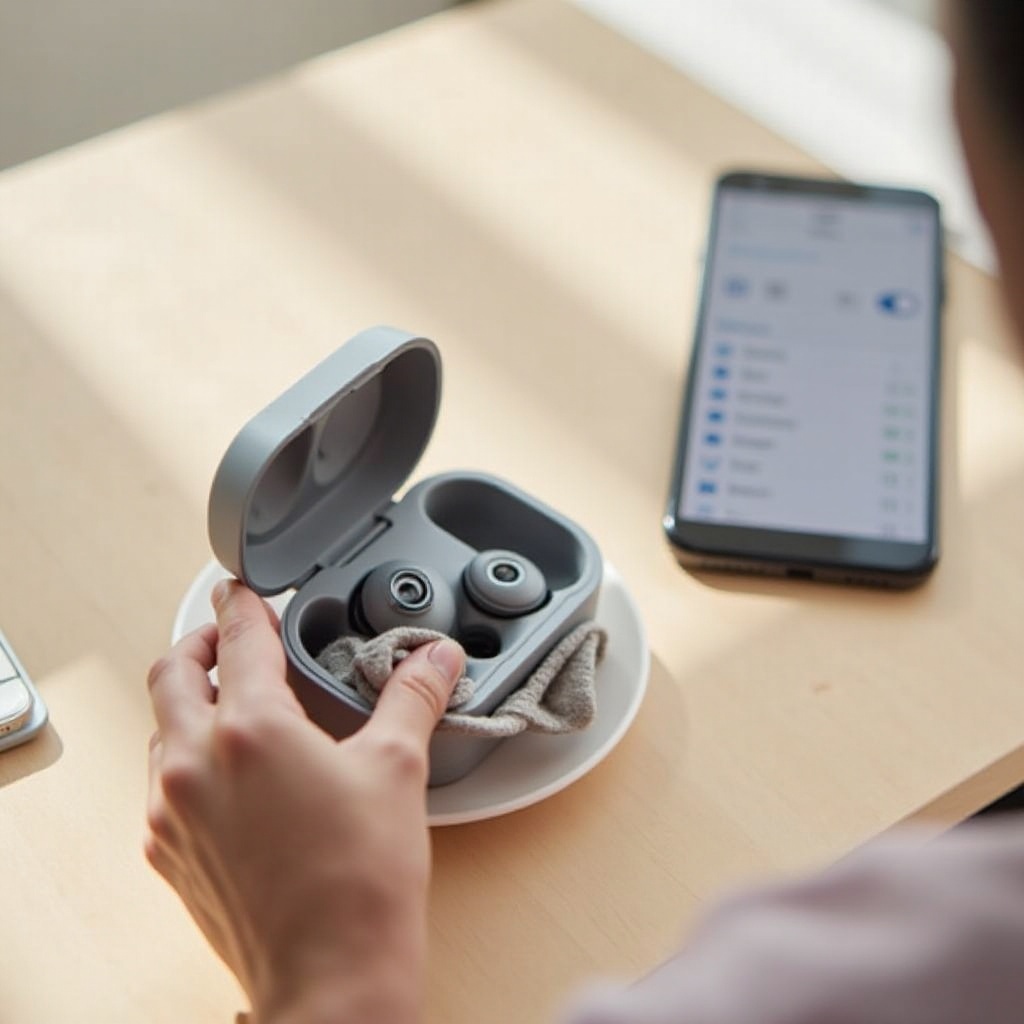
Conclusion
A JLab left earbud not working can come from many sources: device settings, mono audio, Bluetooth pairing glitches, dirty charging contacts, low battery, physical blockage, or internal damage. Working through the steps in this guide in order helps you solve the easiest and most common issues first.
You started by checking your phone, computer, and apps, then moved into quick fixes like powering on both earbuds, re-pairing, and re-seating them. Next, you learned how to re-sync the earbuds with each other and how to perform model-specific resets for GO Air, JBuds Air, and Epic Air lines. You saw how to handle charging problems, sound quality issues, and advanced troubleshooting with firmware updates and network resets.
If all of those steps fail, hardware damage is the likely cause, and JLab support becomes the best path forward. Pairing smart troubleshooting with good daily care gives you the best chance to keep both earbuds working well and enjoy balanced, stereo sound for a long time.
Frequently Asked Questions
Why is my JLab left earbud not working while the right one works?
This often happens when the earbuds lose sync with each other, the left earbud does not charge, or device settings such as mono audio or balance are off. Start by testing another device, checking audio balance, then reset and re-sync the earbuds. If the left earbud still will not charge or power on, it may be a hardware issue.
How do I reset my JLab earbuds if the left side will not turn on?
First, make sure the case is charged and the left earbud sits correctly in the case and shows a charging light. Then perform a reset: remove both earbuds, hold the touch sensors until the LEDs flash, place them back in the case, and take them out again to re-sync and pair. If the left earbud never powers on even after charging and resetting, contact JLab support.
What should I do if my JLab left earbud still does not work after all troubleshooting steps?
If you have tried re-pairing, factory resets, model-specific resets, cleaning the mesh and contacts, updating firmware, and testing on multiple devices, and the left earbud still will not charge, connect, or play sound, the problem is likely hardware-related. Document the issue with photos and a short video, gather your purchase proof, and reach out to JLab support to see if you qualify for repair, replacement, or a discounted upgrade.